New Blog with New Design and Gatsby.js - Loving JavaScript Again
In 2010 I set up this blog on Tumblr mostly due to the ease of publishing and not having to worry about the hosting. I also went through two design iterations done in Photoshop:

You can probably tell that these designs were done before the flat and minimalist design trend we are seeing in recent years.
As I decided to revamp my blog once again, I thought I’d use Sketch this time around and aim for a simpler, cleaner and more mature design approach that’s quicker to design and to build. And this is exactly what I did:
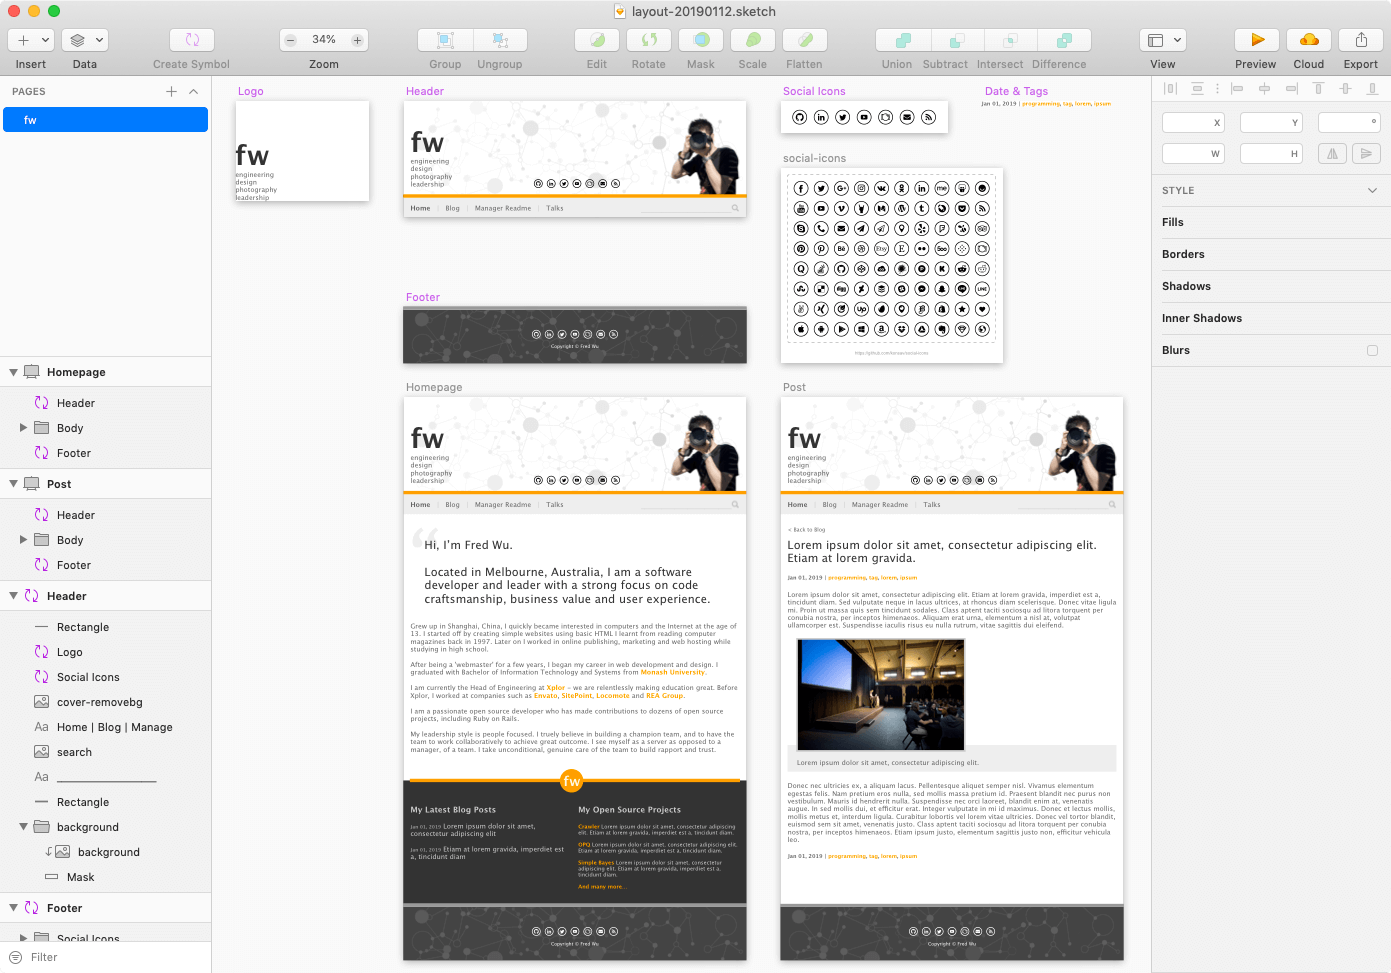
Thanks to Sketch, the design process was much better than I would’ve had in Photoshop.
Why the Revamp?
A big part of the reason for the blog revamp was to move away from Tumblr, now that it is part of the dying Yahoo!, and to invest in modern technologies to make the blog function better by adding responsive design and a proper grid system, etc.
As I was reading up on and researching technologies as I often do, I came across Gatsby, and I was immediately convinced that this was going to power my new blog as it appears super fast (by building static content and pre-fetching), is based on React and has a huge collection of useful plugins.
At work I often joke about how I hate JavaScript (rm -rf node_modules anyone?), the truth is I started off my career doing a lot of JavaScript, my most popular open source library by GitHub star count is in JavaScript, and I have always worked as a full stack dev until recent years.
Due to the shift of my responsibilities more into leadership over the past few years, I have opted to focus more on the backend, but deep down I love software in general and given the frontend scene has seen some major improvements in the past few years, not to mention that at work we have several React code bases, it’s time I dig my teeth into it again.
Disclaimer: until recently I had only done two React projects before and my exposure to ES6 has been somewhat limited.
Gatsby
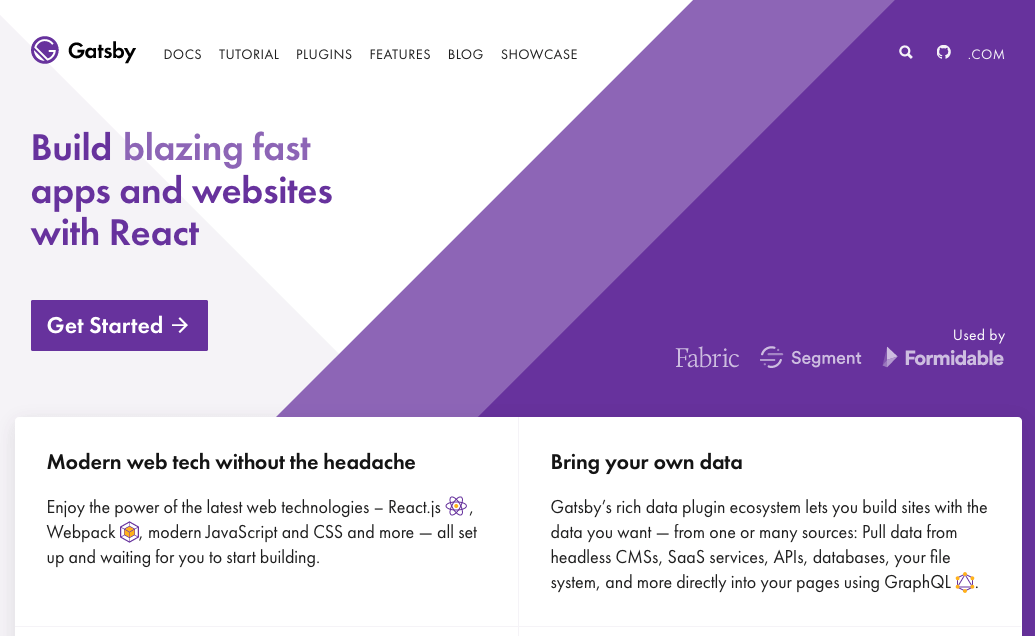
The thing about Gatsby that impressed me the most is how fast it is due to its out-of-box support for pre-fetching. With a wealth of different starter templates it is also very easy to hit the ground running. I used gatsby-starter-netlify-cms as it supports Netlify and is fairly simple.
Export Tumblr Posts
First thing first, I will need to export all my tumblr posts into Markdown files so that Gatsby can consume them. There are heaps of such tools including Tumblr’s own export functionality. I ended up having to use these two:
- Jekyll importer for converting all Tumblr posts into Markdown
- tumblr-utils for downloading all images in the posts (Tumblr’s own export tool and many others only download images hosted on Tumblr)
Of course, many search-and-replace as well as manual massaging were required to get the new Markdown files to a useable state.
Add More Gatsby Plugins
The starter template was great, but I needed more functionalities so I ended up adding these over time:
- gatsby-plugin-styled-components for supporting Styled Components
- gatsby-remark-embed-video for embedding videos
- gatsby-remark-prismjs for syntax highlighting
- gatsby-awesome-pagination for pagination
- gatsby-remark-reading-time for adding reading time
- gatsby-plugin-feed for RSS feed
- gatsby-plugin-google-analytics for Google Analytics
- gatsby-redirect-from for page redirects (of old Tumblr pages)
- gatsby-plugin-sitemap for sitemaps
-
gatsby-plugin-robots-txt for
robots.txt
Using many of these plugins only requires you to add the plugin itself and some config, then off you go - it could not be any easier!
GraphQL
One other reason why I was interested in Gatsby was because of its out-of-box support for GraphQL. I came across GraphQL a while back but never had the chance to work with it. At work one of our projects started using GraphQL and the team behind it rates it highly, so I really wanted to get some first hand experience using it.
With the inclusion of GraphiQL the in-browser GraphQL IDE, the GraphQL experience in Gatsby is extremely simple and satisfying.
Querying Data using Gatsby’s Page Components and StaticQuery
It’s been a bit of journey.
The starter template I used has GraphQL queries in the page components, but I wanted the GraphQL queries in shareable components so I opted to using Gatsby’s StaticQuery.
Until I decided to add gatsby-awesome-pagination which requires the GraphQL queries to have variables therefore incompatible with StaticQuery.
Despite the back and forth between page components and StaticQuery, I still loved the GraphQL experience in Gatsby.
It’s All Just React (In a Good Way)
The great thing about Gatsby is that despite making things easier by including a bunch of useful functionalities and plugins, down to its core, everything is based on React Components.
What this means is that as long as you have a working knowledge of React and React Components, extending Gatsby’s capability is simple and straightforward.
CSS Powered by Bulma
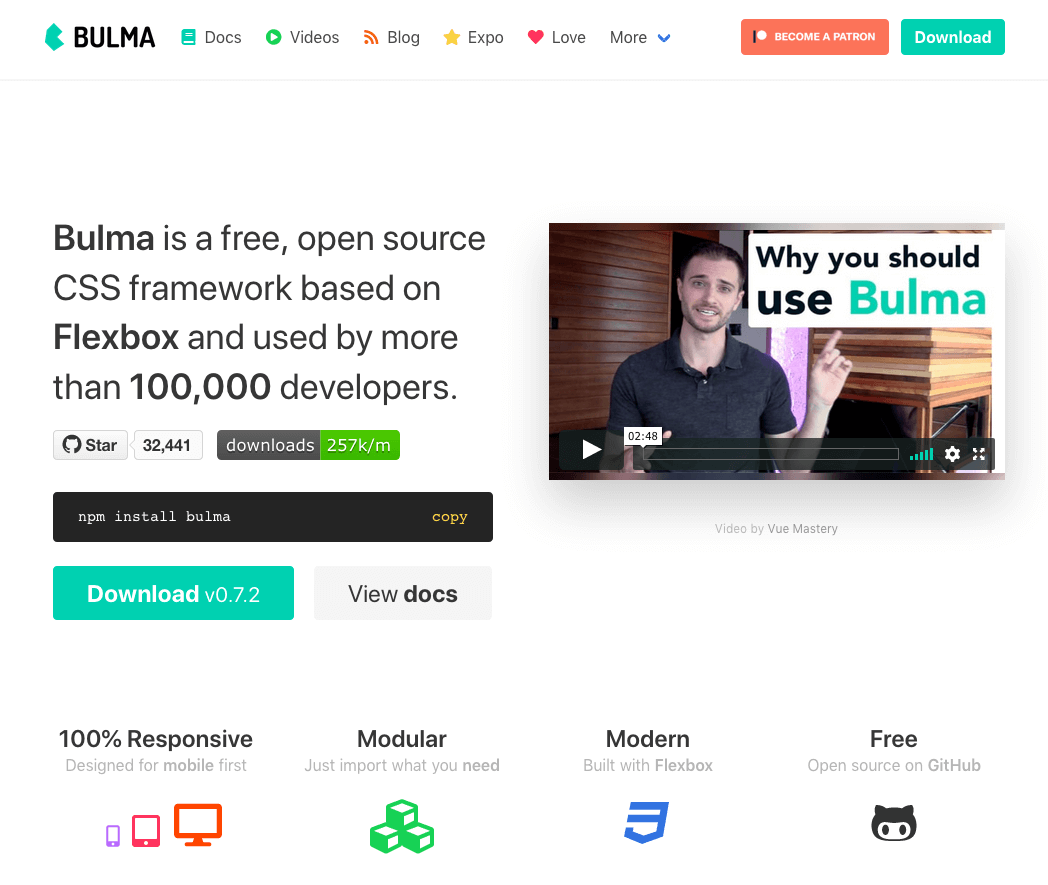
The starter template also includes Bulma - a modern and popular CSS framework.
Until now I’ve always relied mostly on Bootstrap so it’s nice to get to experience another CSS framework. And it turns out, Bulma is quite nice and easy to use too.
Thanks to Bulma, supporting responsive design was a breeze.
Gotcha: CSS Rules and “gatsby-plugin-purgecss”
gatsby-plugin-purgecss is included as part of the starter template to reduce the size of the CSS files by removing unused CSS rules. It’s wonderful as it saves about 200Kb of CSS (before minifying and gzipping) from unused rules from Bulma.
One gotcha I soon realised though, is that it also purges any CSS rules that are only rendered in the Markdown components. My guess is that the purging happens before the static contents were rendered therefore it cannot detect them.
The fix was quite simple, given that by default it only purges the main css file (in my case, all.scss), and all the specific rules in this file were defined by me, all I had to do was to add the comment lines to tell the plugin not to purge these rules:
@import "~bulma";

/* purgecss start ignore */
.my-own-css-rules-here {
}
/* purgecss end ignore */
Gotcha: CSS Conflicts Between Bulma and Prism.js
One more issue with CSS was the conflicts between Bulma and Prism.js due to the way some of the CSS rules are defined in Bulma.
What I had to do was to “reset” those CSS rules so they can inherit from Prism.js instead:
.content {
  .number,
  .tag {
    align-items: inherit;
    background-color: inherit;
    border-radius: inherit;
    color: inherit;
    display: inherit;
    font-size: inherit;
    height: inherit;
    justify-content: inherit;
    line-height: inherit;
    margin-right: inherit;
    min-width: inherit;
    padding: inherit;
    text-align: inherit;
    vertical-align: inherit;
    white-space: inherit;
  }
}
Netlify: Deployment and Hosting Made Easy (and Free!)
Before Netlify and similar services were available, many people used GitHub Pages to host their static content sites. It worked reasonably well but in the end this isn’t GitHub’s core competency and the features are limited.
Netlify takes deployment of static content sites to a whole new level and I cannot be happier to have finally jumped on the bandwagon too.
Closing
Suffice to say, I am very satisfied with this revamp experience - Sketch, Gatsby, GraphQL, Netlify and many other software have made it a walk in the park.
It only took me around 50 hours to get to 99%, and a few hours more to add in things like Disqus and social sharing.
Oh, and for those who are curious, the source code of this blog is available on GitHub here.
Let me just say:
The last time I fell in love with JavaScript was when JQuery first came to the scene many moons ago. Ever since then I dread working on the JS stack mostly because I’ve been spoiled by the Ruby and Elixir ecosystems. It’s nice to fall in love JavaScript again after so many years of simply “getting by”.
I hope you like my new blog, and if you have a similar experience to share, I’d love to hear from you!
Enjoy what you are reading? Sign up for a better experience on Persumi.